
What makes one microscope better than another?
A few weeks ago I co-ran a week-long Physics and Human Physiology day camp for high school students, part of the University of Oregon’s “SAIL” program that especially targets low-income students. I’ve written about SAIL before (2019, 2017, 2014) — this was our 14th Physics + Human Physiology camp, and the 16th time I’ve run a SAIL camp of any sort! I bent my policy of “if it ain’t broke don’t fix it” and designed two new activities, running them along with a piece on surface tension that I’ve done many times.
The new activities involved microscopy and digital images. They were tiring but went remarkably well, so well that I might more formally write up a description. For now, here’s a blog post.
Before describing the microscopy adventures, I’ll note that the week as a whole was a hit. Colleagues in Physics led great activities — Graham Kribs expanded his physics of climbing session (old photo); Jayson Paulose explored mechanics, geometry; and more. My Human Physiology colleagues also had a suite of great activities, of which our cadaver lab seemed again to make the strongest impression.
The menu
Everyone knows that microscopes make very small things visible. It’s not nearly as well known that beyond this core feature, there is a staggering variety of approaches to seeing small things, and a variety of goals. Exploring this illuminates connections between physics and biology (and even economics); plus, it’s fun.
After a few minute introduction, I asked the 18 high school students to write down their thoughts on “What might it mean for a microscope to be ‘better’ than another?” I collected these, but we didn’t discuss the answers; rather, we split into three groups of six students and went to three very different microscopes, each manned by two people from my research group (myself included).
One was a simple tabletop compound microscope (actually two of these) — the sort students would have seen in a middle or high school science classroom. Another was one of our home-built light sheet fluorescence microscopes, capable of 3D imaging over several-hundred-micron fields of view, which has been immensely useful for my lab’s studies of gut microbes (e.g. this).
The third was a microscope that we’re borrowing, a remarkable “multi-camera array microscope” from Ramona Optics that consists of grid of 48 cameras and lenses that together cover a 6×8 centimeter field of view with 5 micron resolution at 13 frames per second. (I had been working on a grant proposal to buy the full 12 x 8 cm version of this.)
At each of the stations we had two people from my lab. I was one of the two at the array microscope.
The differences between these instruments were highlighted by looking at the same thing on each: live zebrafish larvae, engineered to have fluorescent neutrophils (immune cells). We also looked at other things at each microscope.
A simple microscope
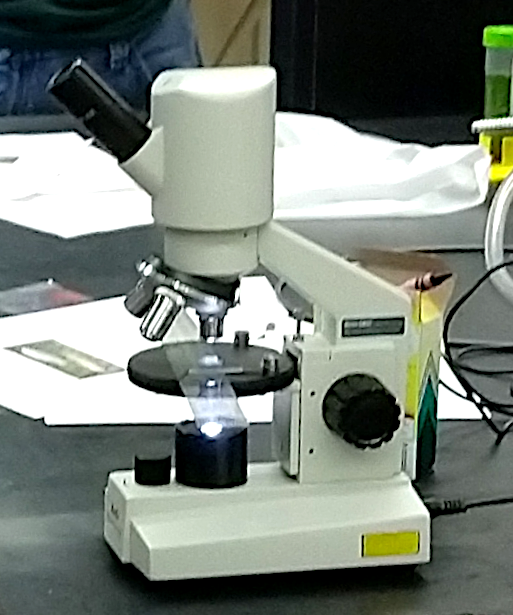
At the simple microscope (shown above), it’s easy to relate the few-mm-long larvae one sees unaided darting about in a dish to the magnified microscope view, but their motion makes it nearly impossible to follow the animals. It takes luck to even find one in the field of view. In retrospect we should have mounted some zebrafish in gel; my students cleverly improvised by placing some fish in small water droplets. With this microscope, there is of course no way to discern immune cells; resolution and magnification are inadequate, and there is no control of wavelengths for fluorescence excitation or detection of emission. Still, it’s nice to see the fish. We also looked at (and drew) rotifers — exuberant but slower smaller creatures that are prey for zebrafish — as well as printed text and images whose constituent primary color dots were fun to see.
A light sheet fluorescence microscope

Students at the light sheet fluorescence microscope first learned the meaning of “fluorescence” — that some materials, illuminated by light of one color, emit light of another color. (That’s it; nothing about energy levels, photons, …) We illustrated this with my favorite fluorescence demonstration: a blue/violet light shining through a bottle of olive oil; the beam turns a beautiful red. (In canola oil, for contrast, it remains blue/violet.) The students were then introduced to the light sheet microscope, which looks nothing like the conventional picture of a microscope. It consists of lenses and mirrors on an optical table, with a 3D printed chamber filled with water in which are suspended larval zebrafish, held in plugs of agar gel. With this microscope one can easily watch the rapidly beating heart and, switching to a fluorescence channel, the immune cells scattered throughout the body, with the resolution to discern the cells’ amoeboid shapes, with finger-like projections poking into the surrounding tissues. One can’t see an entire larva at once, though — the field of view is about 0.3 mm, roughly one-tenth the length of the fish.
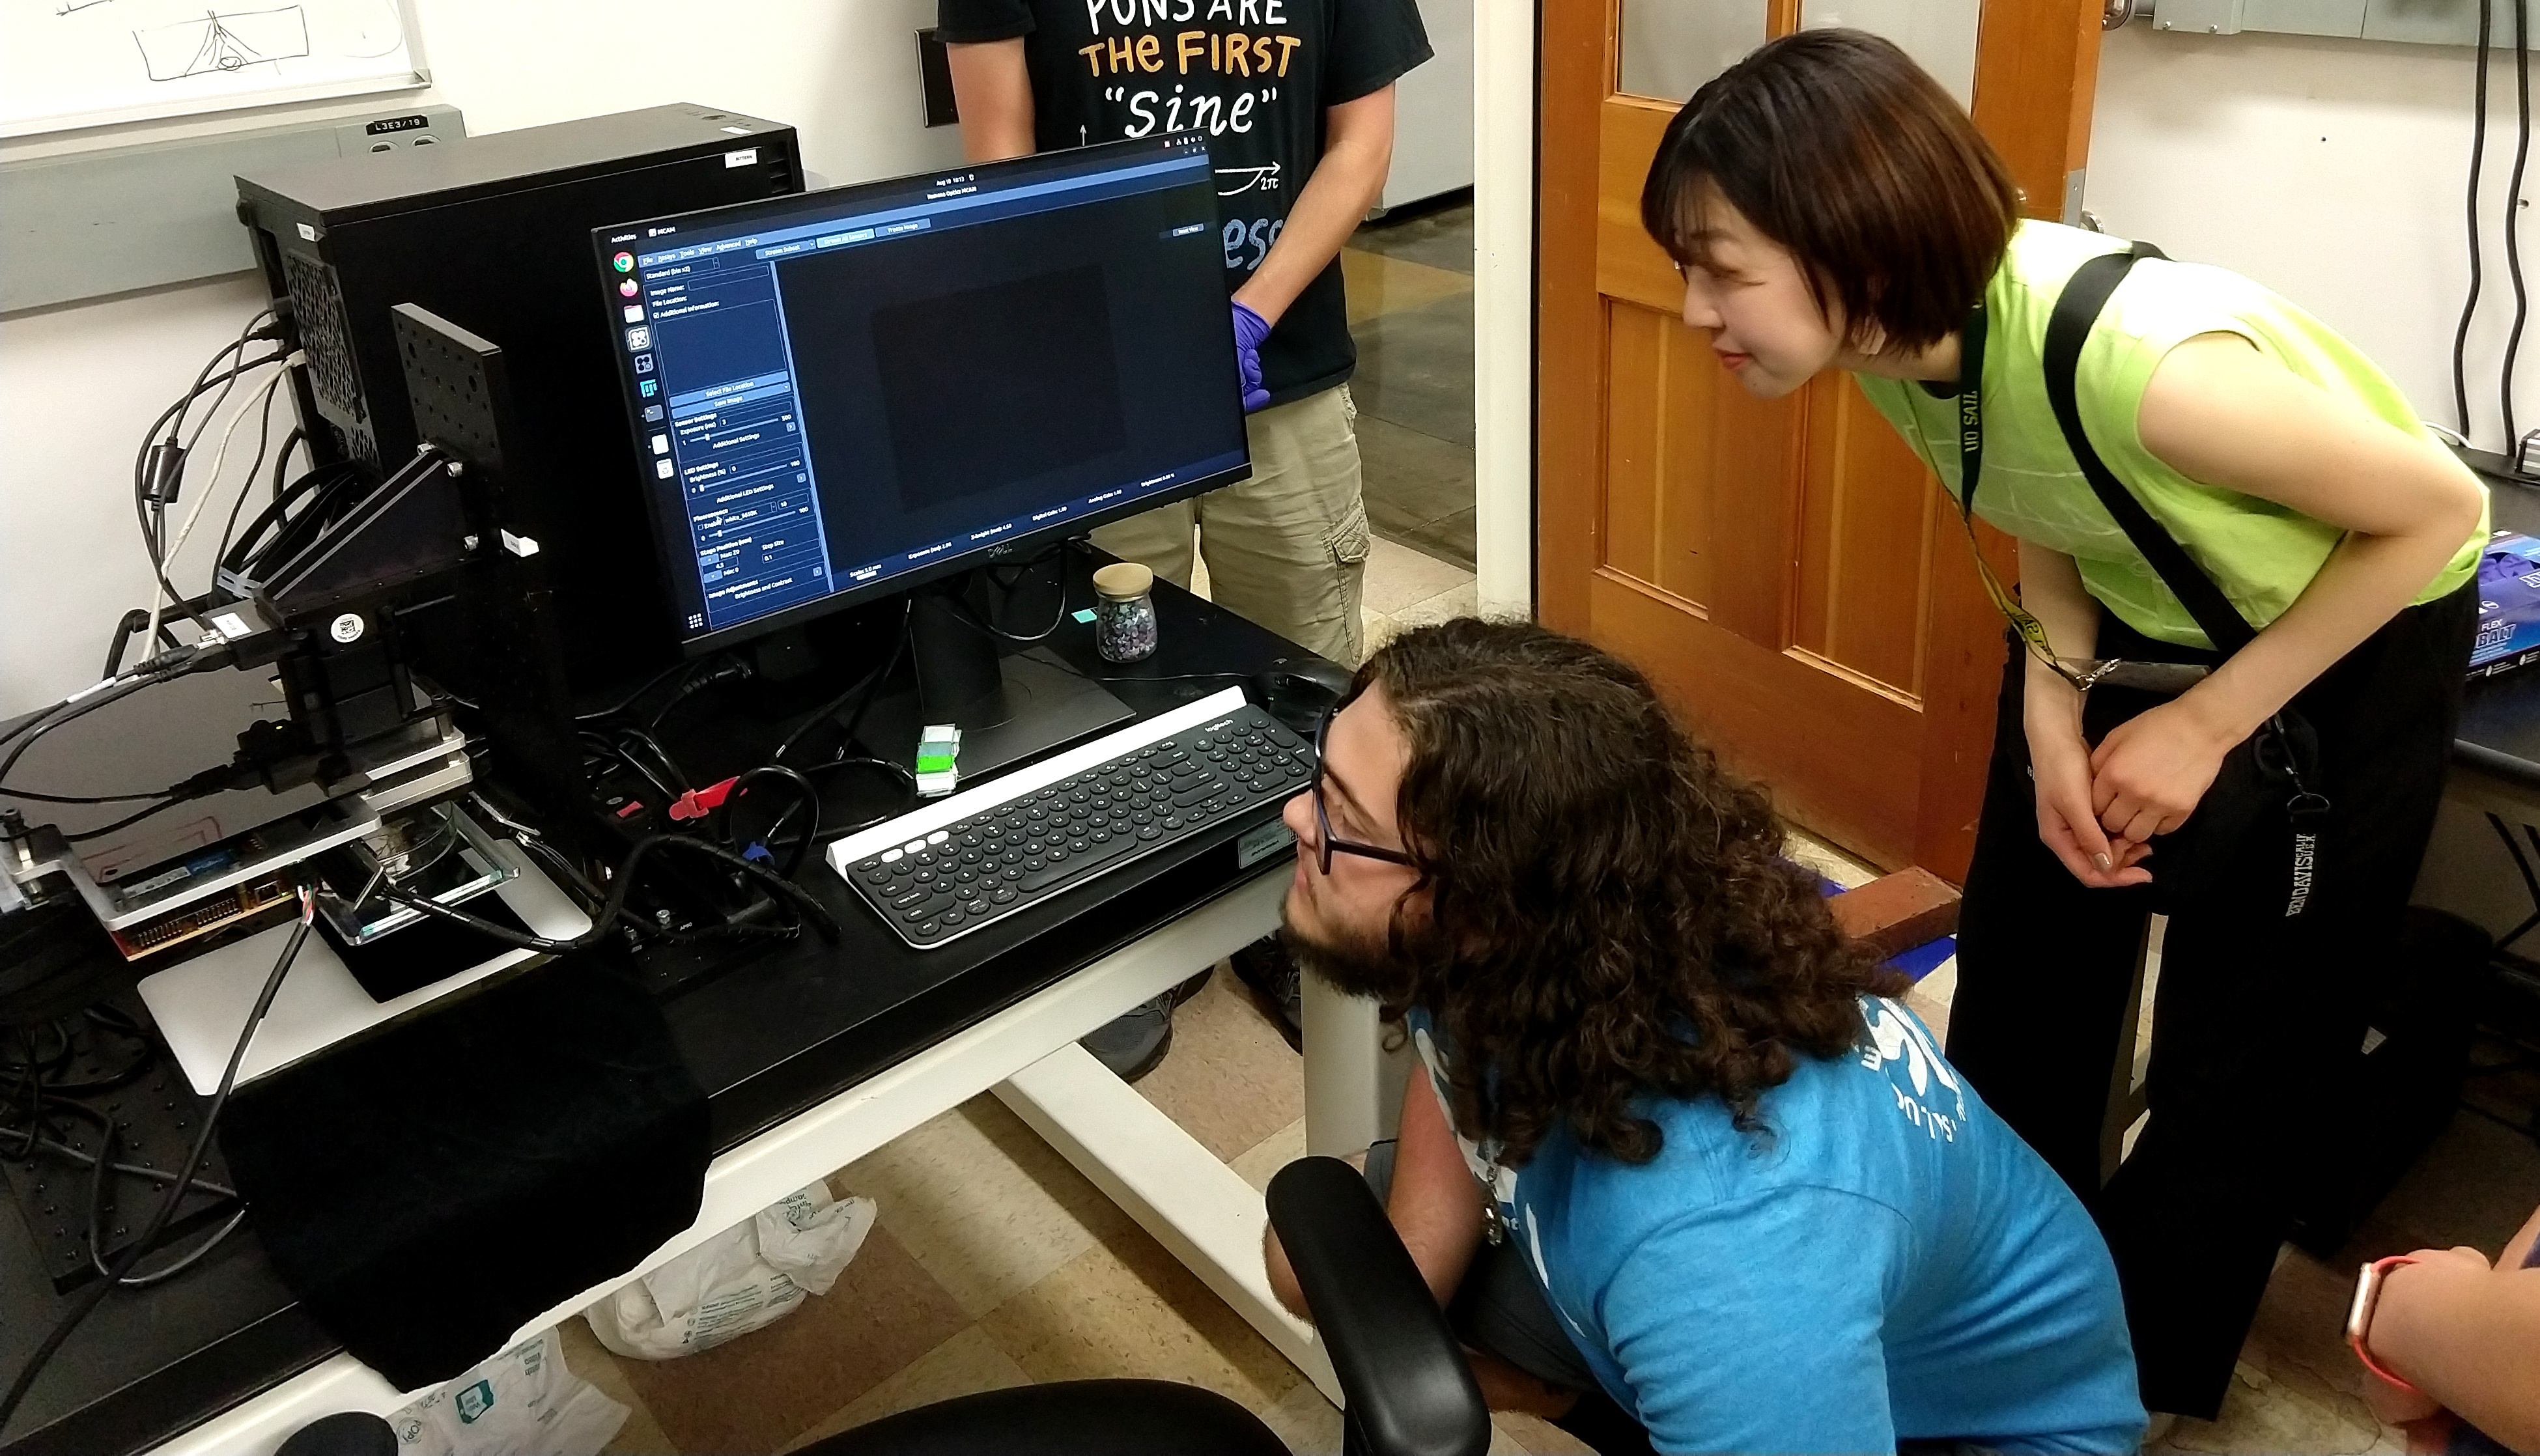
A multi-camera array microscope
The Ramona Optics array microscope is also unrecognizable as a microscope, though in a different way. I asked students to guess where the lens is. Peering from below, one can see the grid of glass circles. We watched zebrafish larvae swimming freely in a dish, zooming in wherever we liked to get a magnified view. Switching to fluorescence, immune cells were evident, but without the resolution to make out their shapes. We also looked at fabrics, comparing machine-woven and hand-woven cloth (see image) — students guessed which was which, usually correctly.

What do we want from a microscope?
All three microscope excursions were enjoyable — both for us and for the students, who were enthusiastic and engaged. The only flaw was a lack of time — 15 minutes per activity, so that each sub-group of six students could cycle through the full set in 45 minutes. This was too little. (I expected this to be the case; there were constraints on the time available.)
Did the experience change students’ understanding of microscopy? Before the activities, the students’ responses to the question “What might it mean for a microscope to be ‘better’ than another?” were rather limited. Eleven of eighteen referred to magnification or resolution; a few noted easy of use; none commented on field of view. Afterwards — the next day — the students came up with a much broader list that included customizability, field of view, speed, and more, and realized that there were many different axes along which one might optimize. We also discussed cost. It was charming and amusing to hear students’ first guesses for the price of the array microscope, around $30,000; jaws dropped at the actual price, about $1M. The simple microscope is around $200. For the light sheet fluorescence microscope, we noted the differences between home-built systems (like ours) and commercial microscopes (about $200,000-500,000). We then discussed where the money comes from, with a brief explanation of the very unfamiliar world of research grants. From past experience as well, money is always an interesting topic, especially since it’s not often brought up in the context of science.
Sadly, I learned a few days ago that I lost the internal university competition to submit the proposal to buy the array microscope for our imaging core facility — it’s a limited submission National Science Foundation program — but hopefully I’ll succeed, somehow, in the future. It’s really a beautiful microscope! (See the gallery here.) Maybe a future SAIL camp will get an even more complex explanation of research funding…
Images on the big screen

The next day’s discussion also got into the scientific motivations for the studies the students got a glimpse of — what’s a model organism, what does any of this have to do with physics, etc. I conducted this session at our “Visualization Lab,” which is a mosaic of screens that in total comprise 50 million pixels. It’s appropriate for showing the array microscope images, which contain a few hundred million pixels — zooming in and staring closely at the screen, one can get a sense of the constituent pixels and the overall extent. The visualization wall doesn’t get much use — there’s not really much point to it — and I’m glad that I could put some images on it that actually match its scale. (You, dear reader, can guess how much the wall cost…)
I planned a short activity about digital images that became even shorter as time ran out; mirroring that, I’ll omit it from this post.
Try this at home
I think this set of activities, especially the parallel exploration of different microscopes, was enjoyable and effective. Could it be replicated elsewhere? I think so! The particular microscopes we used were of course a unique and unusual set. However, at most universities one could find simple and advanced instruments with very different traits — for example confocal microscopes that, like the light sheet microscope, have high resolution; plate scanners that cover large areas, though without the dazzling speed of the Ramona Optics microscope; and more. Many possible sets of tools can convey a sense of the breadth of microscopy. I’ve done microscopy activities for SAIL before but haven’t been as happy with them as with this one. Perhaps other people, elsewhere, can try similar things!
This also reminds me that I scrapped a section on microscopy from my pop-science biophysics book since I didn’t consider it engaging enough. Maybe I should think more about ways to make it work.
Today’s illustration…
An agave plant; pen and watercolor.
— Raghuveer Parthasarathy August 31, 2023
